Giving My AI Assistant a Home with Home Assistant
An always-on mini PC, a Home Assistant container, and an API token gave my assistant a way to control devices. My existing Alexa setup kept working.
I already control my smart home through Amazon Alexa: smart plugs, fans, an air filter, a thermostat, and a few Echos. I wanted my AI assistant to be able to operate devices too, through an API running on hardware I own.
Home Assistant gave me that second control interface. For devices with compatible integrations, it can talk to a local device or its vendor service alongside the existing Alexa integration. Adding it did not require moving the household away from the controls we already use.
Start with the computer that is already on
The host is a mini PC with 24 GB of RAM and eight cores, already running continuously on my home network. Home Assistant runs in Docker with its configuration stored outside the container:
docker run -d \
  --name homeassistant \
  --restart unless-stopped \
  --network host \
  -e TZ=America/Edmonton \
  -v /home/sean/homeassistant:/config \
  ghcr.io/home-assistant/home-assistant:stable
The restart policy brings the container back after a reboot. The mounted directory keeps configuration across container replacements. On this Linux host, host networking lets Home Assistant participate in LAN discovery without a separate container network getting in the way. Individual devices still need supported integrations and, where required, their own setup.
I opened http://<lan-ip>:8123, created the first administrator account in the browser, and set the location and Mountain Time zone. That was the manual handoff: create the account with a fresh password, then review the devices Home Assistant discovers.
A familiar address with a valid certificate
The machine already uses Caddy for other subdomains, with Cloudflare managing DNS. I added a DNS-only A record for iot.nullsnow.com pointing to the machine’s private LAN address, then added a Caddy site block:
iot.nullsnow.com {
    tls {
        dns cloudflare {env.CLOUDFLARE_API_TOKEN}
        resolvers 1.1.1.1 8.8.8.8
        propagation_delay 30s
        propagation_timeout -1
    }
    reverse_proxy localhost:8123
}
This uses a Caddy build with the Cloudflare DNS provider installed and the DNS API token supplied through its environment. The DNS-01 challenge proves control of the domain through DNS records, so certificate validation does not require opening an inbound port. Caddy terminates HTTPS and forwards requests to Home Assistant.
The distinction between a public name and public access matters here. The DNS record points to a private address: this setup is useful on my home network, with a valid certificate, but does not by itself provide off-network access. Remote access would be a separate decision, such as a private VPN or a tunnel. The hostname alone does not make that decision for me.
The proxy returned 400
The first request through Caddy failed with 400 Bad Request. Home Assistant needed to trust the reverse proxy before accepting forwarded client information. I initially changed the YAML http: block, but this installation had already migrated those settings into storage, so that edit did not change the active configuration.
My setup notes record a backed-up storage-file repair. For a current installation, use the supported interface instead: Settings → System → Network → HTTP server. Enable Trust X-Forwarded-For and add the actual proxy addresses to Trusted proxies. With Caddy connecting through loopback in this setup, those were 127.0.0.1 and ::1. A proxy in a separate container or on another host needs its own addresses.
The Home Assistant HTTP documentation describes the YAML migration and current settings. Once proxy trust was corrected and Home Assistant restarted, the HTTPS address served the login page successfully.
Give the assistant a token
Home Assistant supports long-lived access tokens, created under Profile → Security → Long-Lived Access Tokens. I created a named token for the assistant and stored it as a secret. The assistant can then authenticate API requests without using my interactive login password.
These are revocable bearer credentials associated with a user, not individually scoped API keys. Their access should be treated accordingly. The authentication documentation explains the token mechanism. Keep the token out of source code and logs, and revoke it when the integration no longer needs access.
With HA_TOKEN loaded from the secret store, the first checks were simple:
# Check the API from the Home Assistant host
curl -s -H "Authorization: Bearer $HA_TOKEN" \
  http://localhost:8123/api/

# Read the available entities and their states
curl -s -H "Authorization: Bearer $HA_TOKEN" \
  http://localhost:8123/api/states
These examples run on the same host as Home Assistant. A client elsewhere on the LAN uses the HTTPS hostname instead of localhost. The entity list supplies the identifiers needed to call device services, as described in the REST API reference.
The first real command: turn off the TV
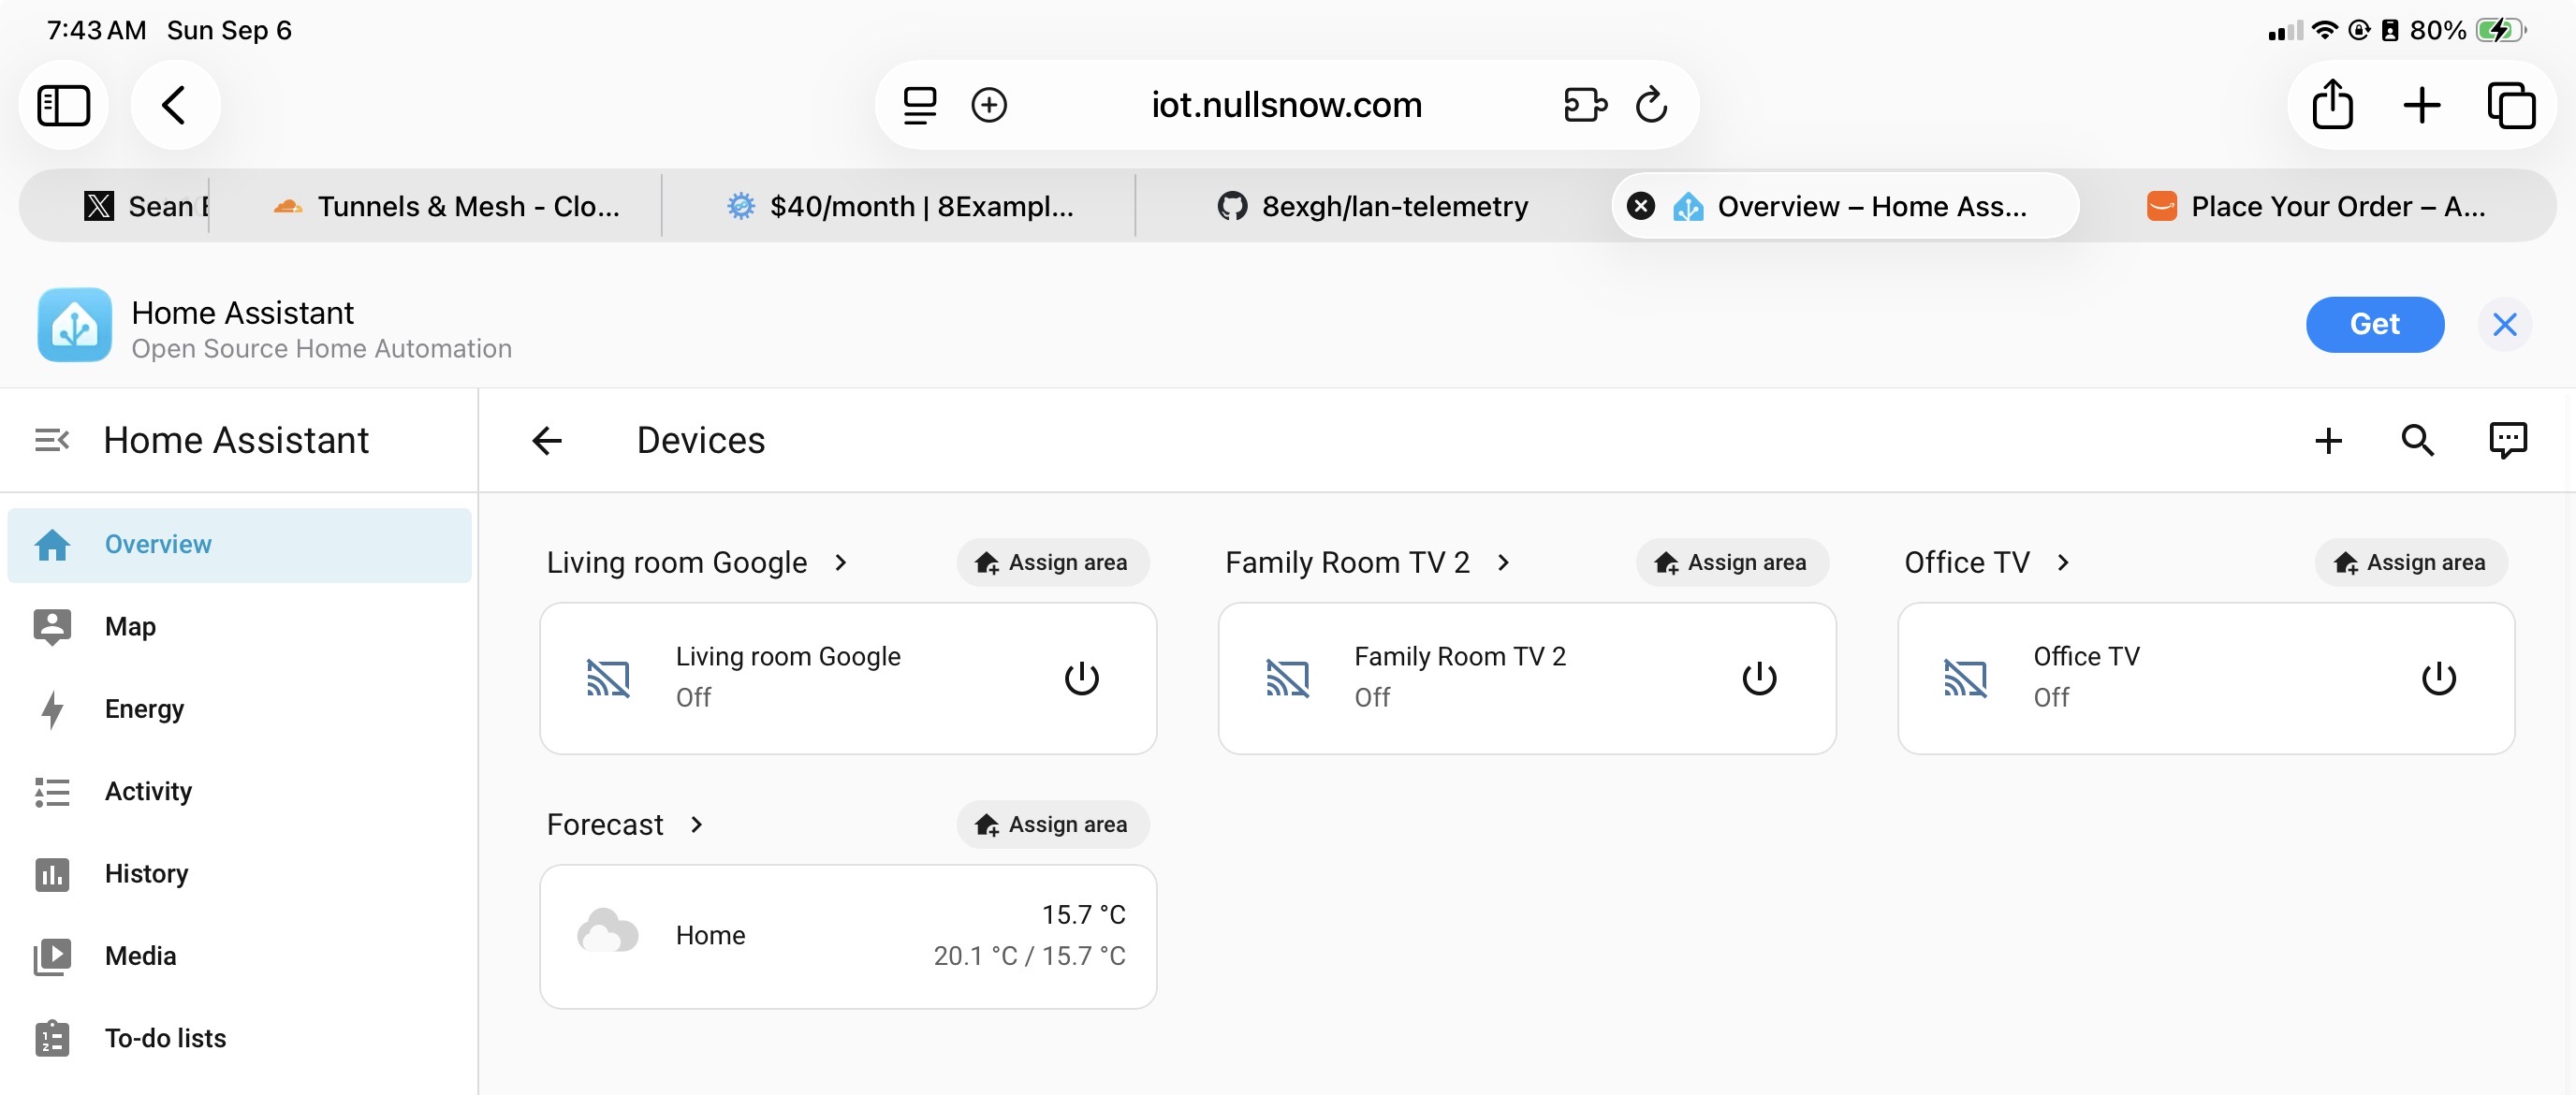
I used the Family Room TV as the first device. The assistant called the media-player service with its entity ID:
curl -s -X POST \
  -H "Authorization: Bearer $HA_TOKEN" \
  -H "Content-Type: application/json" \
  -d '{"entity_id":"media_player.family_room_tv_2"}' \
  http://localhost:8123/api/services/media_player/turn_off

# Verify the resulting state
curl -s -H "Authorization: Bearer $HA_TOKEN" \
  http://localhost:8123/api/states/media_player.family_room_tv_2
The TV turned off, and its state was confirmed as off. That completed the useful path: an assistant request reached Home Assistant, Home Assistant operated a device, and the resulting state could be checked.
That is the foundation I wanted. The mini PC runs the service, Caddy provides HTTPS, and the token gives the assistant an API it can use. Alexa remains available for the same everyday household routines. I can now add supported devices and specific assistant actions one at a time, with an observable result for each.